A little floral flourish
 Although I really did intend to create a collage sort of barrette, when I started shopping the stash I found that I had fewer smallish gauge red yarn choices than I'd thought and the truth is that I'm not really an over the top embellished sort of knitter Besides, the barrette in question had only about 2 and a half inches of real estate to play with so simpler was better.
I started with the bloom itself and opted to go with the same technique I used in earlier experiments.
 My first little bloom was out of DMC Baroque cotton and size 1 or 0 US needles. At about 1.5 inches in diameter when spiraled into shape, this is a very good size for a small barrette or pin.
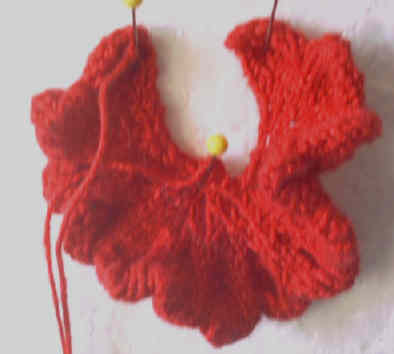
After the first bloom was done and my stash shopping and barrette browsing brought me back to reality, I zeroed in on some Twilley's in a vivid red.
I worked primarily the same as the DMC but on a combination of size 2 US 3 US needles.
I cast on 84 stitches and knit six rows of stocking stitch. On the next RS row, I knit six and then rotated the left needle anti/counter clockwise 360 degrees before working the first of the next six stitches.
 The whole formula is as follows:
Cast on 84 stitches
Rows 1-6 knit in stocking stitch
Row 7: K6 (rotate right needle, K6)13x
Row 8 (and all wrong side rows): Purl
Row 9: (k1, ssk, ktog, k1)14x
Row 11: (ssk, yf, k2, yf k2tog)14x
Row 13: (ssk, k2tog)14x
Row 15: (ssk, k2tog)7x
Row 17: ssk 7x
Row 19: ssk, s2kp2, k2tog
Row 21: s2kp2 cut yarn, pass through remaining loop
sk2kp2 = slip 2 as if to knit two together, knit 1, pass two slipped stitches over.
Then arrange the swirling bloom and use the final length of thread to secure the spiral in place.
 When the bloom was finished, I decided that it needed a leaf or two to frame it out and secure it to the barrette. Because of the metallic nature of the yarn, I wanted a bit of sheen but I didn't really want to dip too far into the realm of shiny but evil rayon.
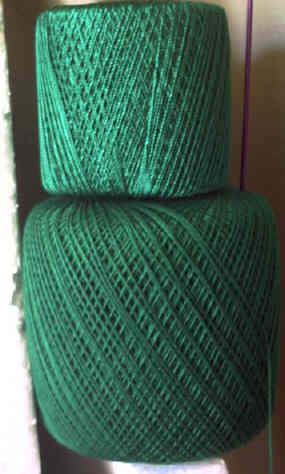
I settled on combining DMC Traditions with America's Best Rayon Crochet.
With either a size 0 or 1 US and carrying the two threads together, I knit about
a half inch of 4-stitch icord (length A). Next I placed two stitches on a holder.
Working with the other two stitches I increased one stitch on each side of every right side row until I had 8 stitches.
Then I short rowed, long rowed and decreased back down to two stitches. I joined these stitches to the two from the holder and worked another half inch or so of 4-stitch icord (length B). For the second leaf, I increased 1 stitch on each side of every other ride side row until I had 10 stitches.
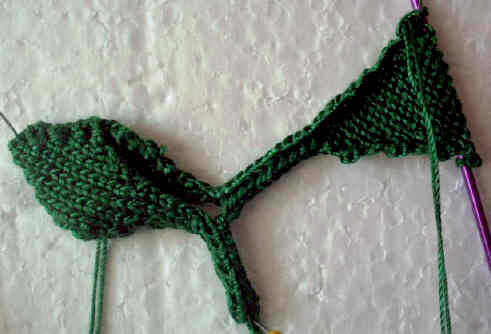 Again I short rowed, long rowed and decreased but this time back to four stitches. Then I worked about two inches of 4-stitch icord (length C).
I sewed up the gaps between the front and back of the leaves. Then, using a crochet hook, I pulled the length C icord through length B and A respectively.
Next I sewed the leaves and stems to the bloom. Because of the nature of the fibres, I added a bit of fabric glue to prevent ravelling of ends and to give a firmer base.

Next I turned to my wire stash and opted for the 26 gauge green floral wire to secure the flower to the barrette. I played around a bit trying to decide how to attach the completed flower to the barrette and ended up with a combination of simple wire wrap and sewing with the DMC Traditions.

posted by walkaboutknitter at
09:53
![]()


0 Comments:
Post a Comment
Subscribe to Post Comments [Atom]
<< Home